A good candle is one of those simple things worth keeping around. It adds a little warmth to a quiet evening, provides gentle light when the power goes out, and makes a useful addition to your emergency supply kit.
Making your own long-burning soy candle is surprisingly straightforward. You need just a few supplies, a little time, and a safe place to let the wax cool.
This version uses a larger jar than a typical 50-hour candle, with the goal of creating a candle that can burn for approximately 100 hours in total.
The exact burn time will depend on your wax, wick, and container. A 100-hour burn is a target, rather than a guaranteed result, until you’ve tested your finished candle.
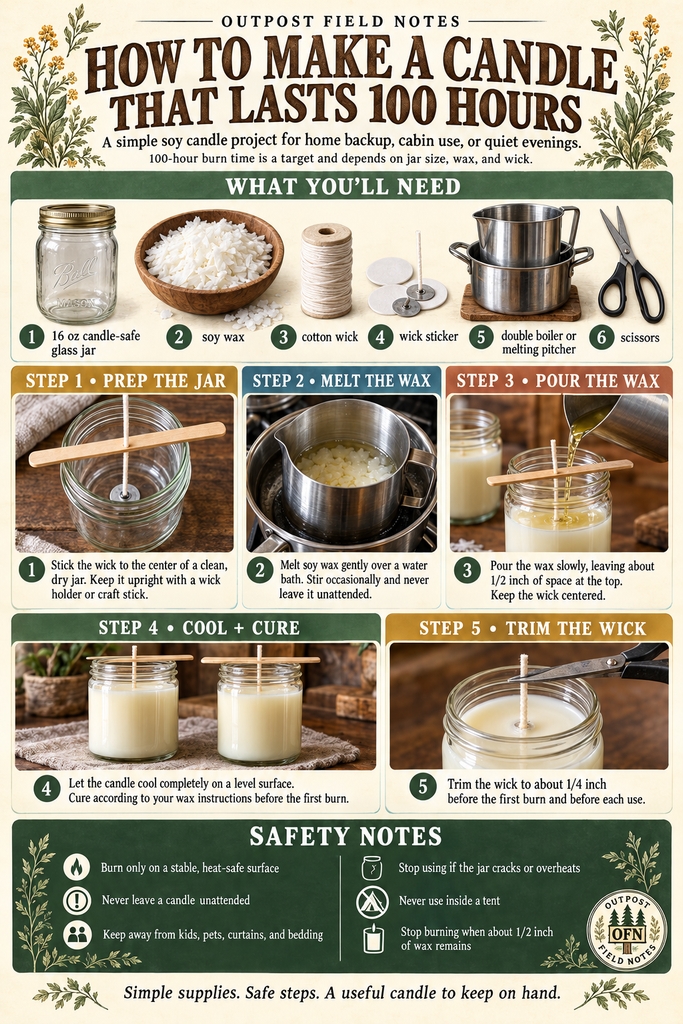
What You’ll Need
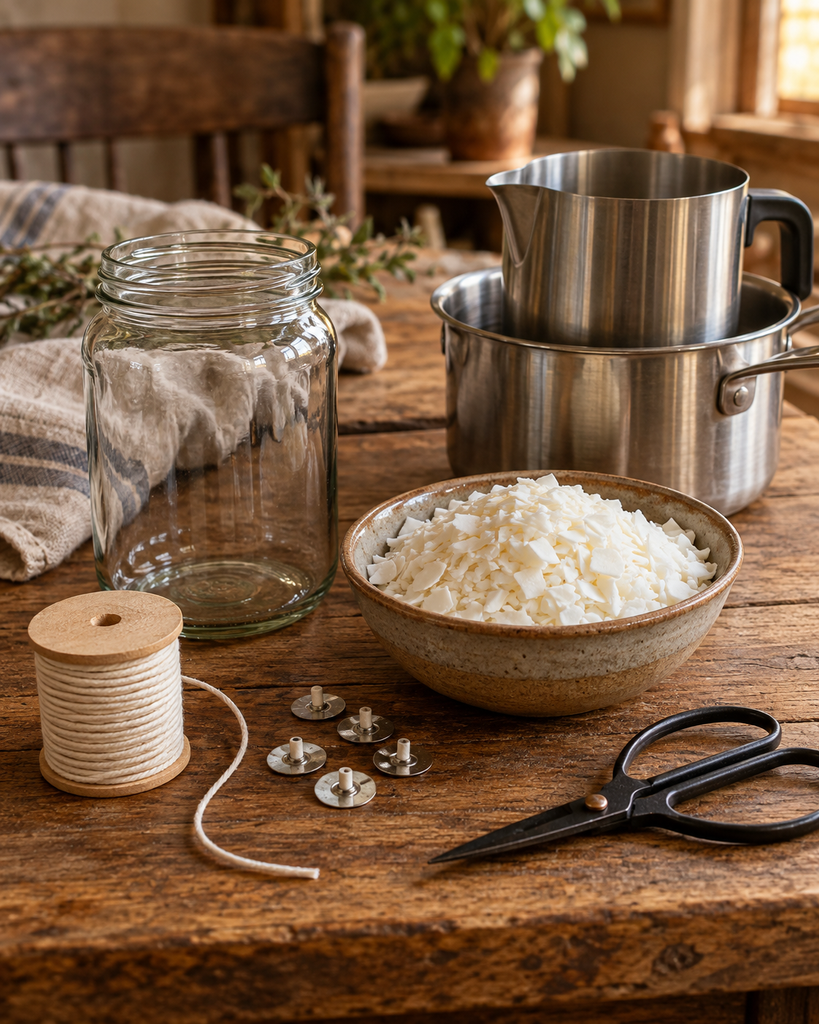
- 1 candle-safe glass jar, approximately 16 oz (475 mL) capacity
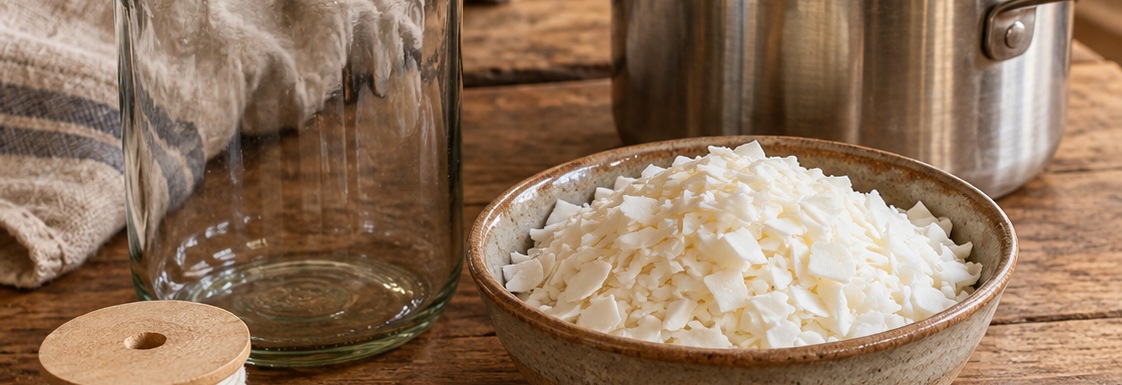
- Approximately 12 to 14 oz (340 to 400 g) of soy container wax
- 1 pre-tabbed cotton candle wick, correctly sized for your jar and wax
- 1 wick-centering holder or wooden craft stick
- 1 wick sticker
- A double boiler or heat-safe wax melting pitcher placed in a water bath
- A thermometer
- Scissors
Choose a straight-sided container specifically designed for candle making. Ordinary food canning jars are not automatically suitable for prolonged candle burning.
For the simplest version, use unscented soy wax. There are no fragrances, dyes, or extra ingredients to measure.
How to Make Your 100-Hour Soy Candle
Step 1. Prepare Your Jar
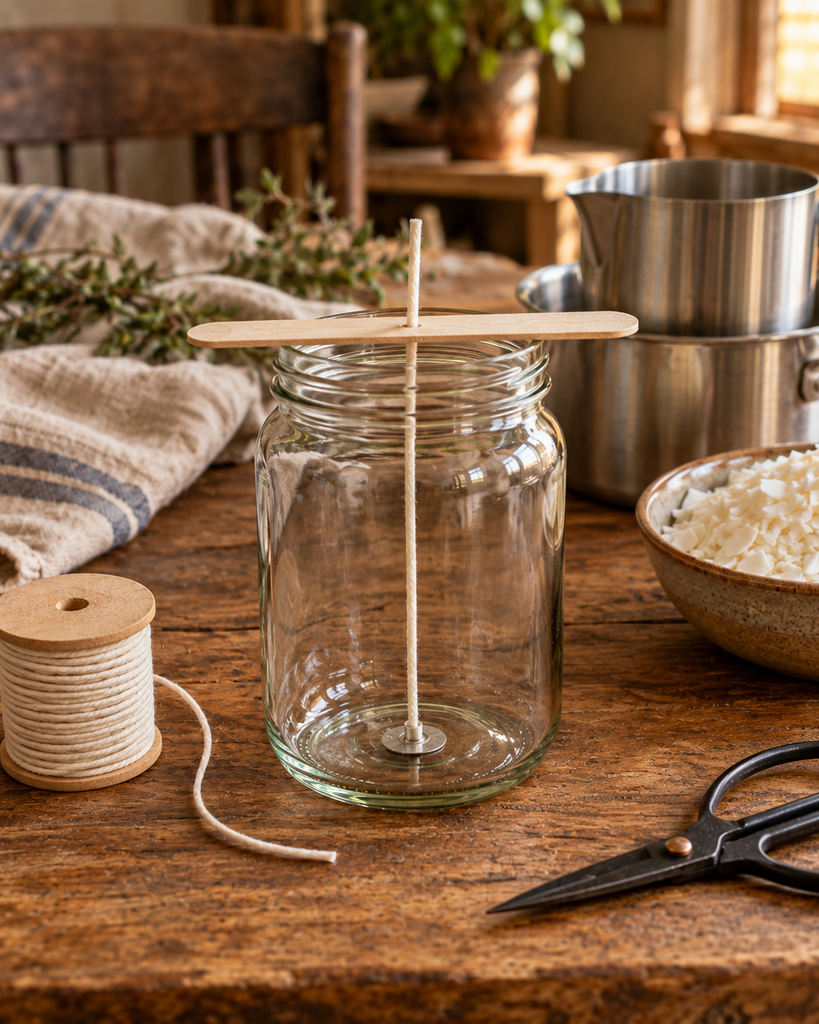
Start with a clean, completely dry candle jar.
Attach the metal base of your wick to the centre of the jar using a wick sticker.
Keep the wick straight by resting a wick holder or wooden craft stick across the opening.
A centred wick helps the candle burn more evenly.
Step 2. Melt the Soy Wax
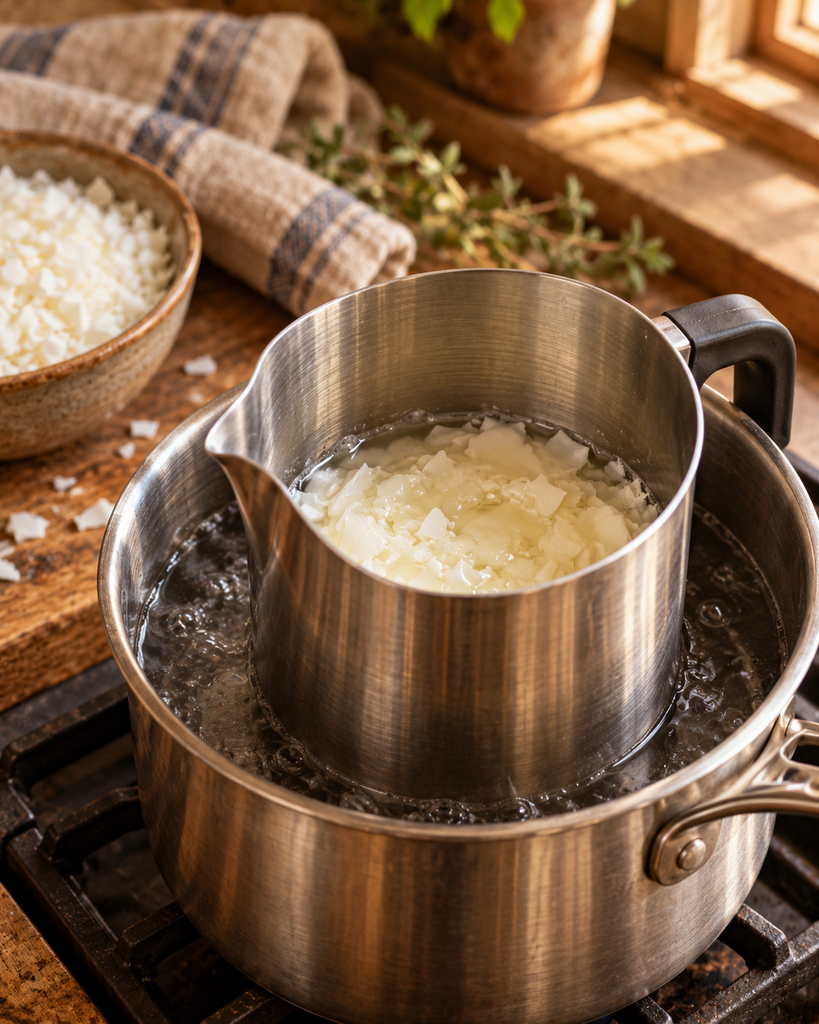
Place the soy wax in a melting pitcher or double boiler.
Heat gently over a water bath, following the temperature instructions provided by your wax manufacturer.
Stir occasionally until the wax has completely melted.
Keep the heating process controlled, and never leave melting wax unattended.
Step 3. Pour the Wax
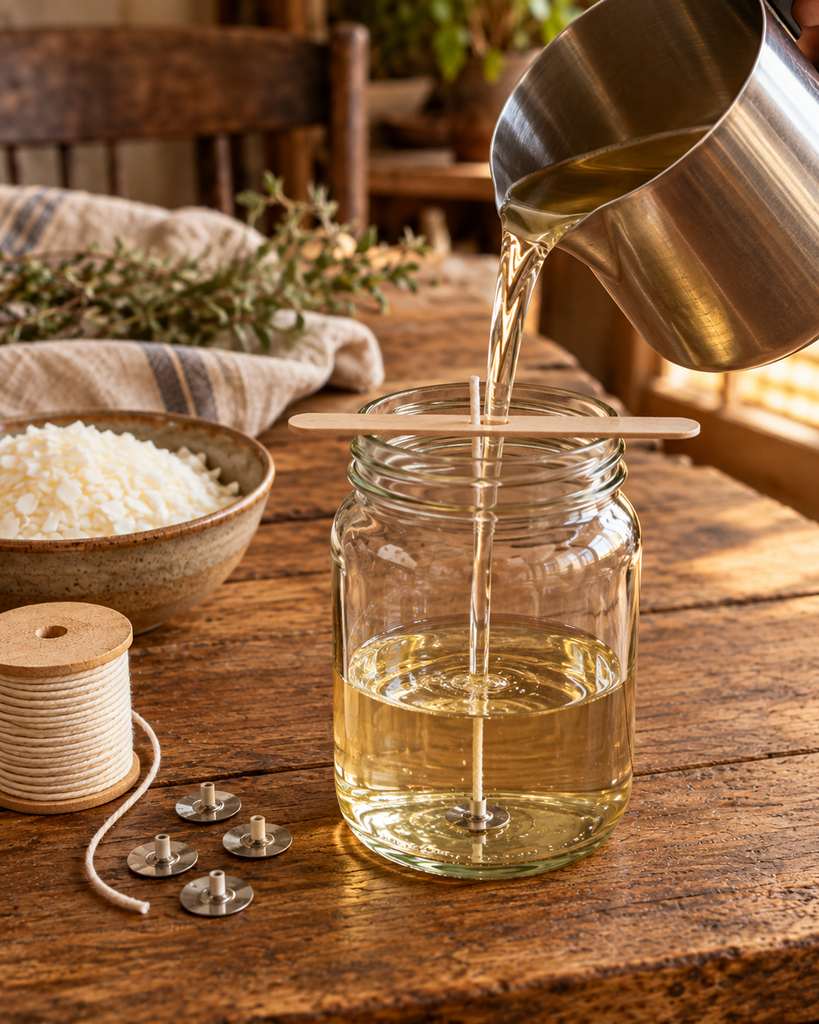
Allow the melted wax to reach the recommended pouring temperature for your particular soy wax.
Carefully pour it into your prepared jar, leaving approximately half an inch (1.3 cm) of space at the top.
Make sure the wick stays centred.
Step 4. Let It Cool
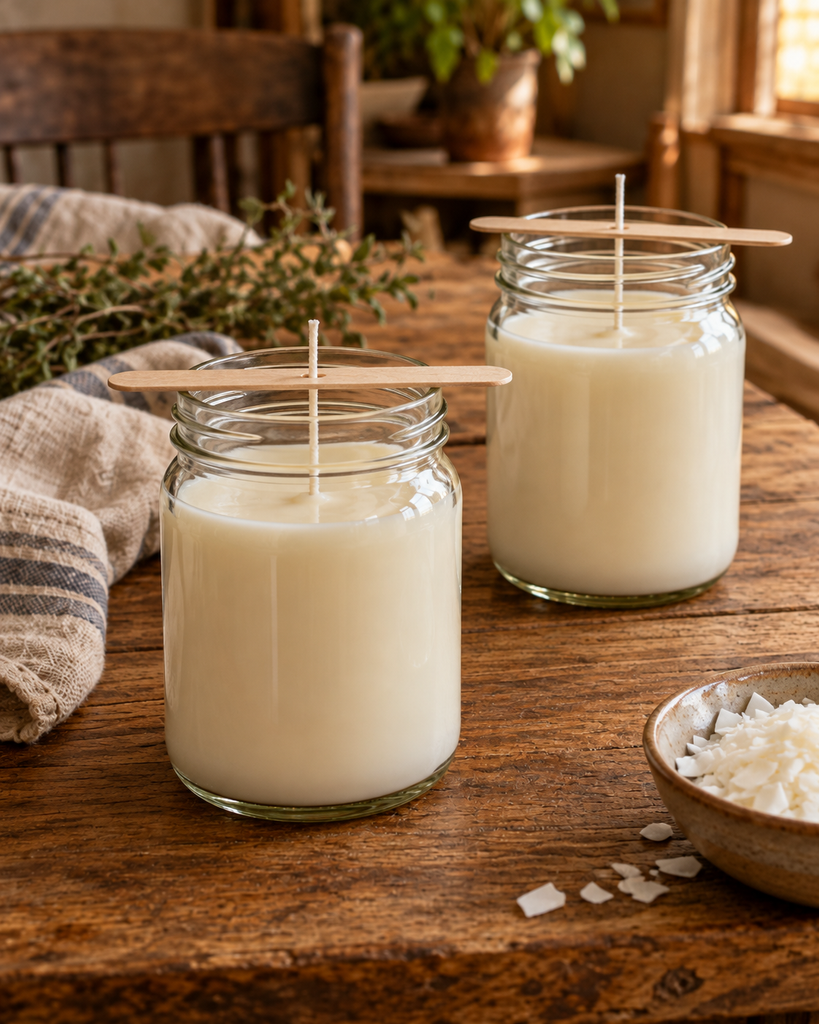
Leave the candle undisturbed on a level, heat-resistant surface.
Let the wax cool and harden completely.
Follow your wax manufacturer’s recommended curing time before the first burn. Some soy waxes benefit from several days of curing.
Step 5. Trim the Wick
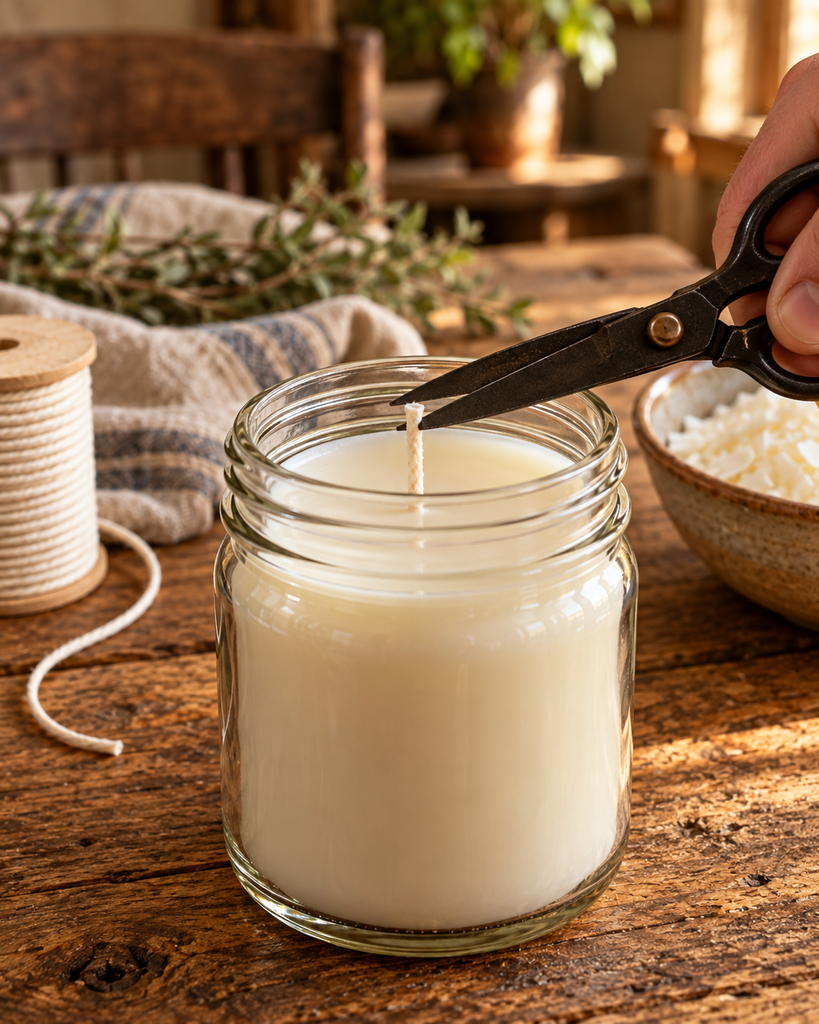
Once the candle has cured, trim the wick to approximately ¼ inch (6 mm).
Your homemade soy candle is ready for its first test burn.
That’s the whole process. One jar, one wick, and a batch of melted soy wax.
How Do You Get 100 Hours of Burn Time?
The original 50-hour candle uses a small, half-pint jar. For this version, we’re starting with a larger 16 oz container and approximately twice the wax.
But candle burn time involves more than size.
Three things make the biggest difference.
- Wax quantity. More wax generally provides more total fuel.
- Wick size. The right wick controls how quickly the wax melts and burns.
- Container diameter. A wider candle may require a different wick than a narrow one, even when both hold the same amount of wax.
Start with the wick recommended by your wax supplier for the specific wax and inside diameter of your jar.
The finished candle should burn steadily, without excessive flickering, smoke, or an unusually deep pool of melted wax.
To determine its actual lifespan, record the combined hours from repeated, supervised burns. A candle that burns for 100 hours in total is very different from one that burns continuously for 100 hours.
If your first candle burns for 80 or 90 hours, you still have a useful long-burning candle. Adjustments should be based on safe burn testing, rather than simply using a smaller wick.
Candle Safety: A Few Things Worth Remembering
Candles are useful, but every open flame deserves attention.
- Never leave a burning candle unattended, including while sleeping.
- Keep candles away from curtains, bedding, paper, tents, pets, and children.
- Burn candles on a stable, heat-resistant surface, away from drafts.
- Keep the wick trimmed to approximately ¼ inch before each use.
- Limit individual burning sessions to the candle manufacturer’s guidance, generally no more than four hours at a time.
- Stop using the candle if the glass cracks, the flame becomes unusually large, or the jar overheats.
- Stop burning when approximately ½ inch of wax remains at the bottom of the container.
- Never add water to hot or burning wax.
- Never use a candle inside a tent or other enclosed fabric shelter.
- Never use a candle as a substitute for a safe indoor heating system.
A homemade candle also needs proper burn testing before you rely on it for emergency preparedness. Use a battery-powered lantern or flashlight as your primary emergency lighting.
Storing Your Candles
Once your candle has cooled and cured, cover it with its lid to keep dust away.
Store it upright in a cool, dry place away from direct sunlight and extreme temperatures.
If you’re making several candles for an emergency kit, label each one with the date it was made and its tested burn time.
Keep matches or a lighter in a separate dry container, along with your other emergency supplies.
A Simple Project Worth Learning
There’s something satisfying about making a useful item with your own hands.
A long-burning soy candle is a manageable afternoon project, and once you’ve made your first one, it’s easy to prepare a few more.
Keep one with your emergency supplies, another for quiet evenings at home, and perhaps one for a rustic cabin weekend where open flames are permitted and can be safely supervised.
Sometimes being a little more prepared starts with something as simple as a jar of wax and a wick.
Outpost Field Notes
Slower weekends. Rustic stays. Field-tested guides.